Service Areas
Service Areas
Service areas are associated to stores; these are approved areas from franchisor where franchise is authorized to operate. In this section, the user can view and manage the service areas and their types. Click on ‘Service Areas’ below the ‘Manager’ section in the location details area of the compliance module.
The service areas are of the following types:
· Exclusive Contractual Areas
· Location Exclusive Areas
· Shipping Areas
· Contractual Delivery Areas
· Additional Delivery Areas
· Back-up Areas
The user can search for service areas using the search bar on the top. Search can be on the basis of Zip Code only.
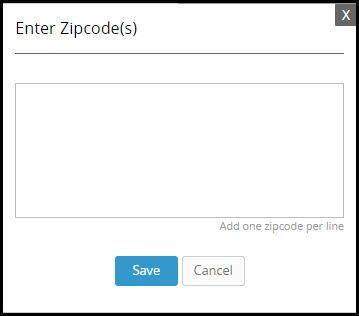
The user can also add more locations to any desired section by clicking on ‘Add Zip’ link above each category. A new pop up will appear where the user can add the zip of the location and click on ‘Save’ to save it. One zip can be added per line.
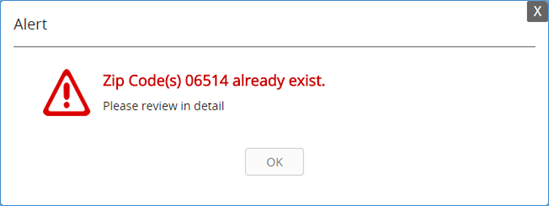
If you try to add an already added zip code to a specific service area, the below alert is displayed:
When you enter a zip code, the system uses the zip code database in the system and pulls the relevant city/state for the zip code. The data base is zipcodes.com and it is a third party component. This is frequently updated provided the zip codes provided by them.
How to Delete Service Area
As soon as a particular zip code from a service area is selected, the Delete link is displayed. Click on it to delete the zip code from the service area. A confirmation pop up is displayed requesting the user to add a reason for deletion.
How to Move Zip codes to a Service Area
As soon as a particular zip code from a service area is selected, the Move drop-down is displayed. The user can select any one of the available services areas to move the zip code to that area.
Related Articles
Employee Details
Employee Details Employee Details/Profile You can view the employee details by clicking on an employee name from the list. This page can be pulled from different areas in this module. Employee detail is divided into the following three sections: ...Lock Account
Lock Account Lock Account A User’s account can be locked by the following different ways: 1. Manually, by clicking on the ‘Lock Account’ option in the ‘Actions’ drop-down. You will have to enter a reason for this action.drop-down 2. If a user is ...New Employee
The ‘New’ button on the Employee page will let you add a new employee in the system. By default, all fields will be blank. The following set of information has to be added in the new employee form: Profile Picture: Your profile picture is the main ...Inbox
Inbox Inbox The Inbox section contains all Solution Center tickets and activities and is divided into the following areas: · Inbox/Activities Panel · Location Panel Inbox /Activities Panel The Inbox area displays all messages and helpdesk tickets ...