Editing Column Views
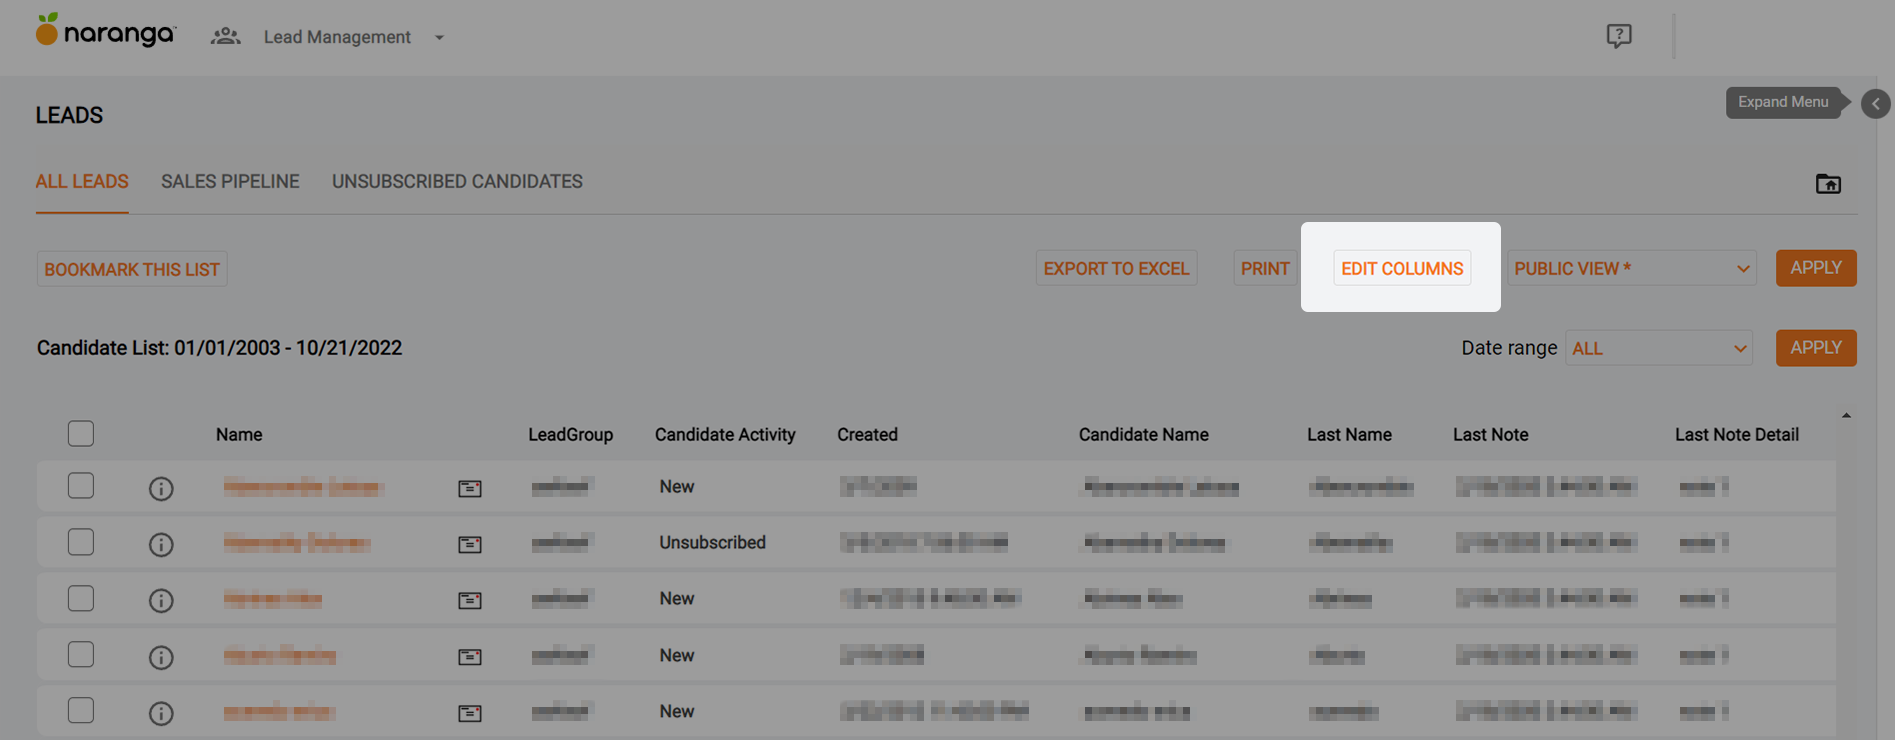
Once you have the list of leads, you may want to change the data being shown in your list. This is done by editing "Column Views". A "Column View" is the information displayed in a list view. It can only be accessed with a list open and listed above the column where the data is displayed.
To the right of the column, the view name is an "Add/Edit" link. If you want to add or edit an existing view, you will want to click on the link.

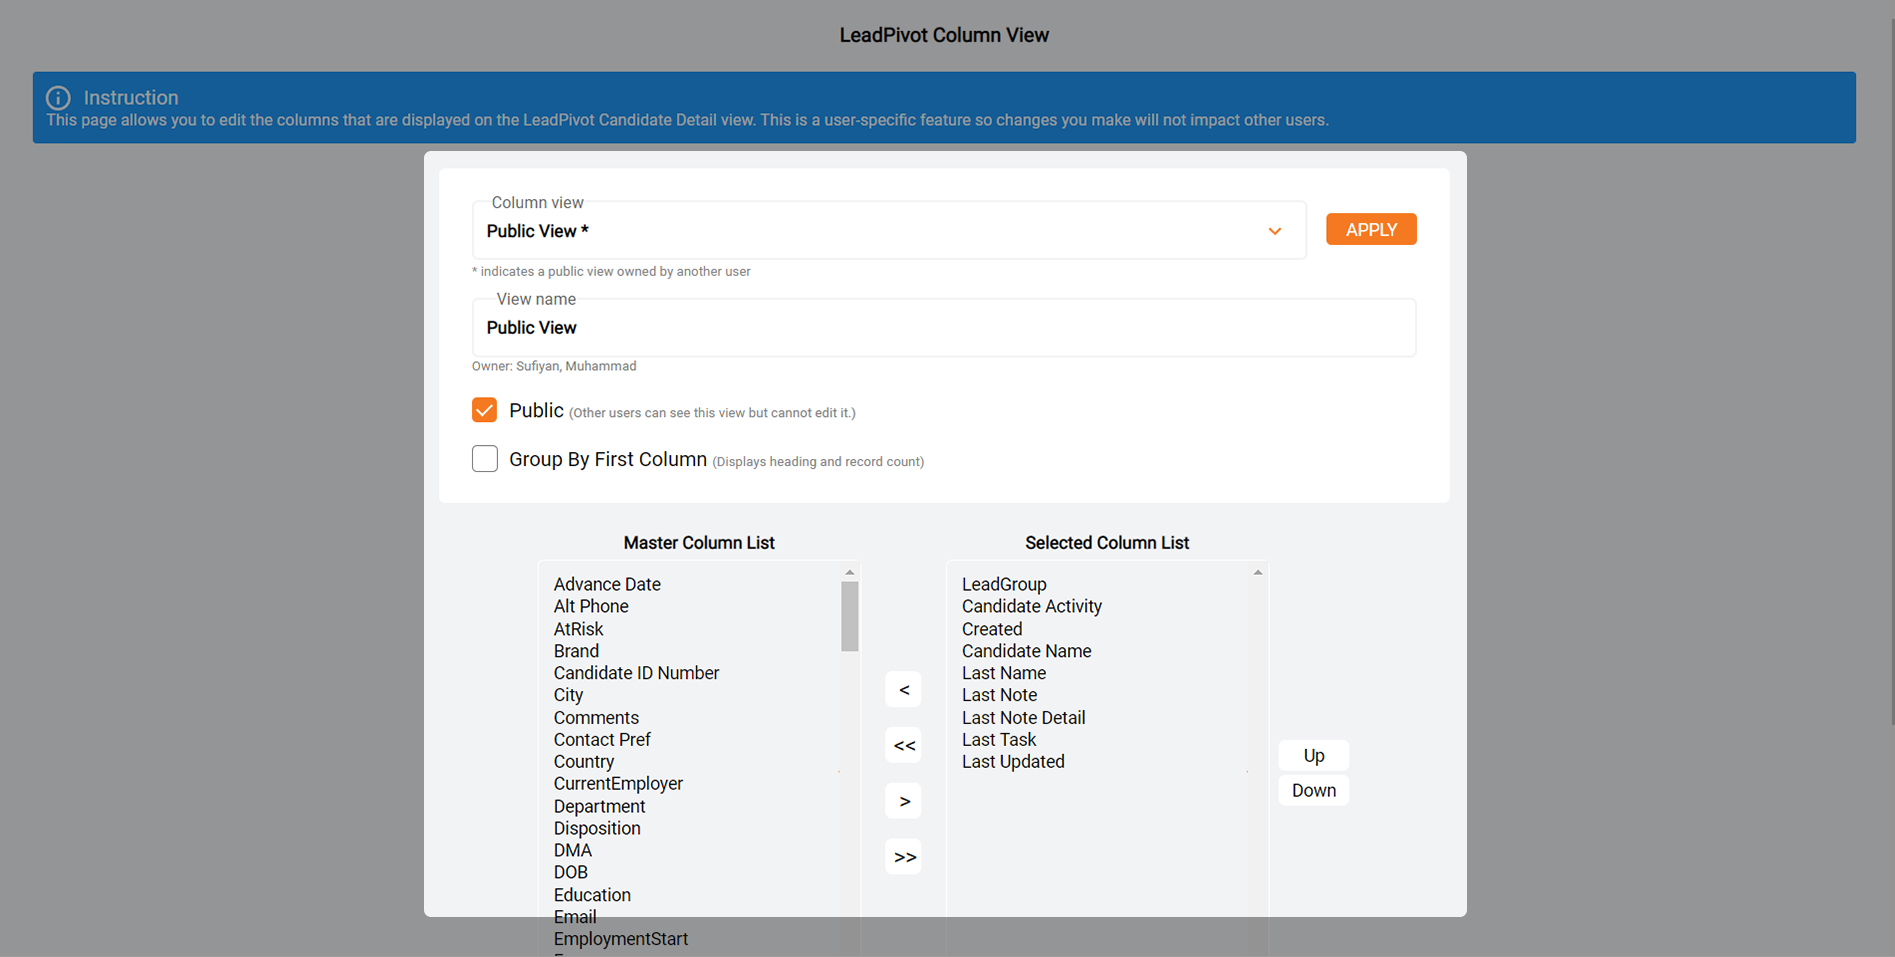
This will bring up a second window. The first thing you will notice is the view you have selected will be displayed in the "Column Views" field. All fields on here are fairly self-explanatory, but we will discuss a few here.

Public: This allows the view to be seen by other users. If this is left unchecked, only you will be able to use the view. Please note that only the view owner can edit/delete the view. If you are unable to edit a view, and the "Save" button is greyed out, you are not the owner of the view. You will need to contact the owner to have the changes you want to be made, or you may wish to make a view similar to it with the information you want that you are able to edit at your leisure.
Group By First Column: This is a very useful setting that allows you to group several leads by their first column header. Please be advised though, that this feature has a maximum of 500 leads that can be grouped together. Any larger than that, and the feature will not be able to pull a list. Please reserve this feature for smaller lists.
Master Column List: These are all the fields available for selection in view. Most default fields are available for selection, however, if your setup has several custom fields, you will need to submit a ticket to the Help Desk to have these made available for reporting.
Selected Column List: These are all the fields currently being shown in the Column view.
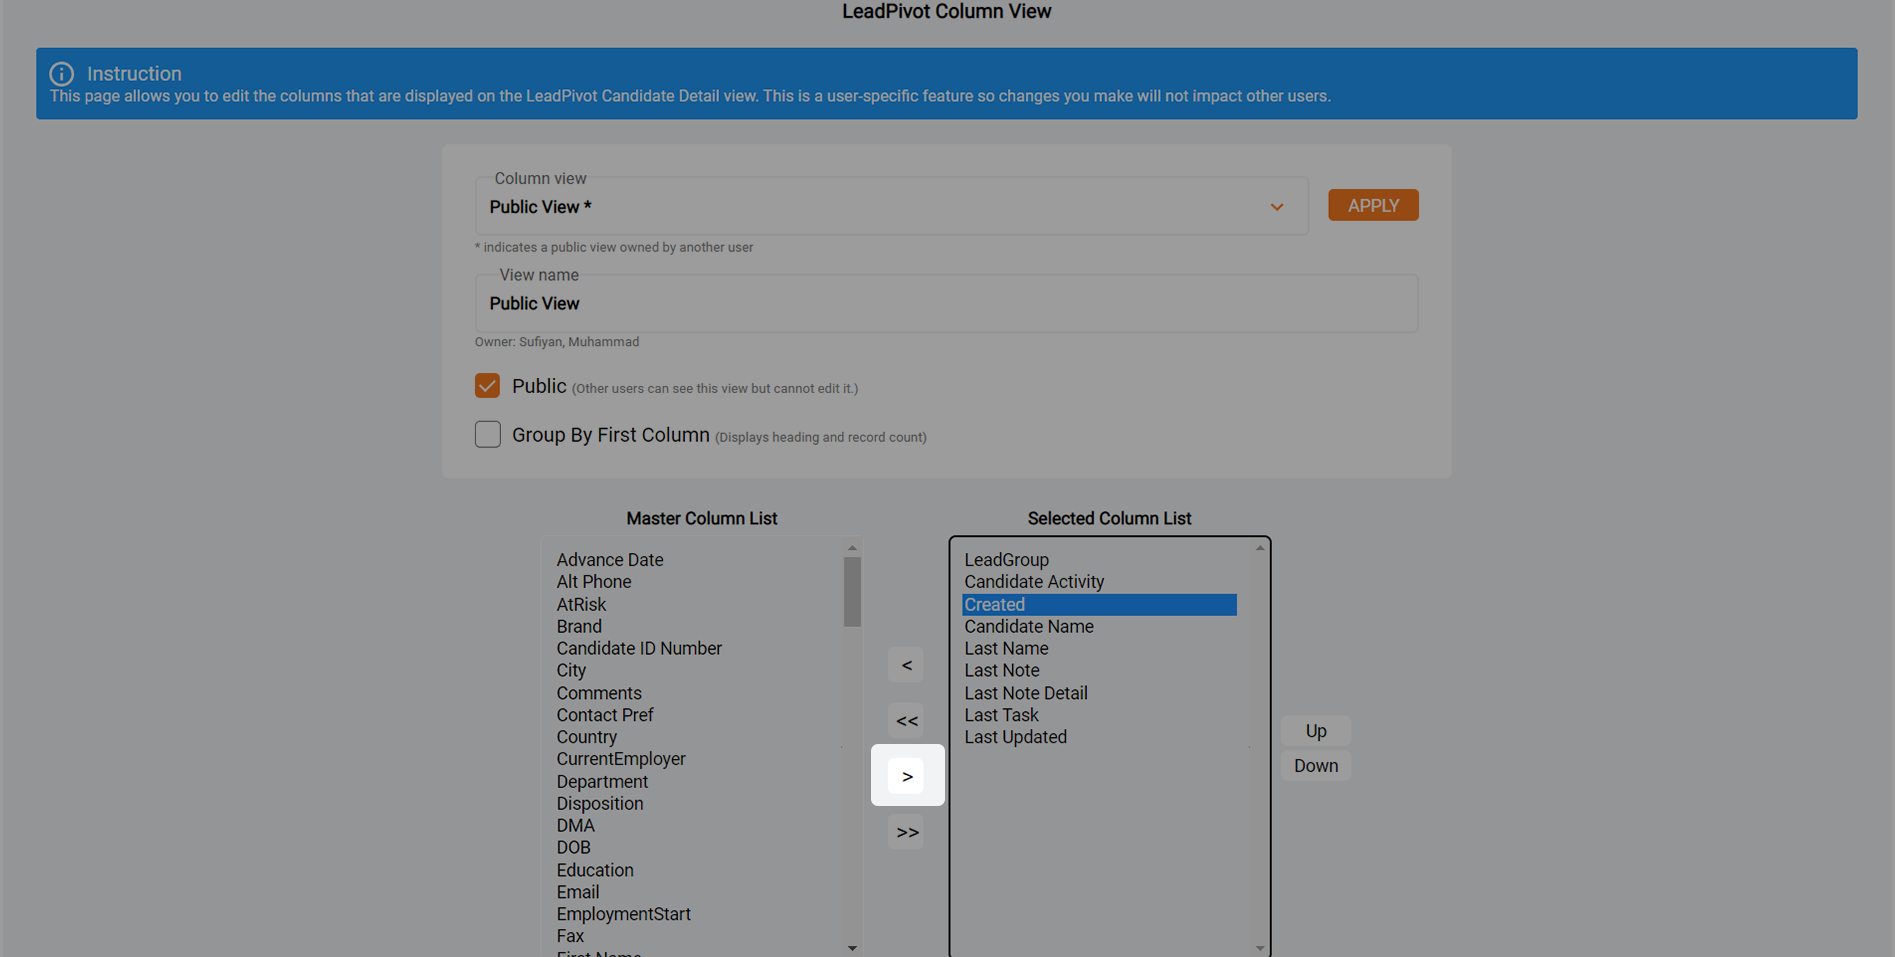
To edit an existing view, simply add or remove the fields you want to the “Selected Column List”. You can do this by either highlighting the item and hitting the left/right button, or by double-clicking the item you want to add/remove. In this example, let’s add the “Created” column. To do this we would highlight "Created" in the Master Column List and then click on the ">" button to move it over to the Selected Column List:

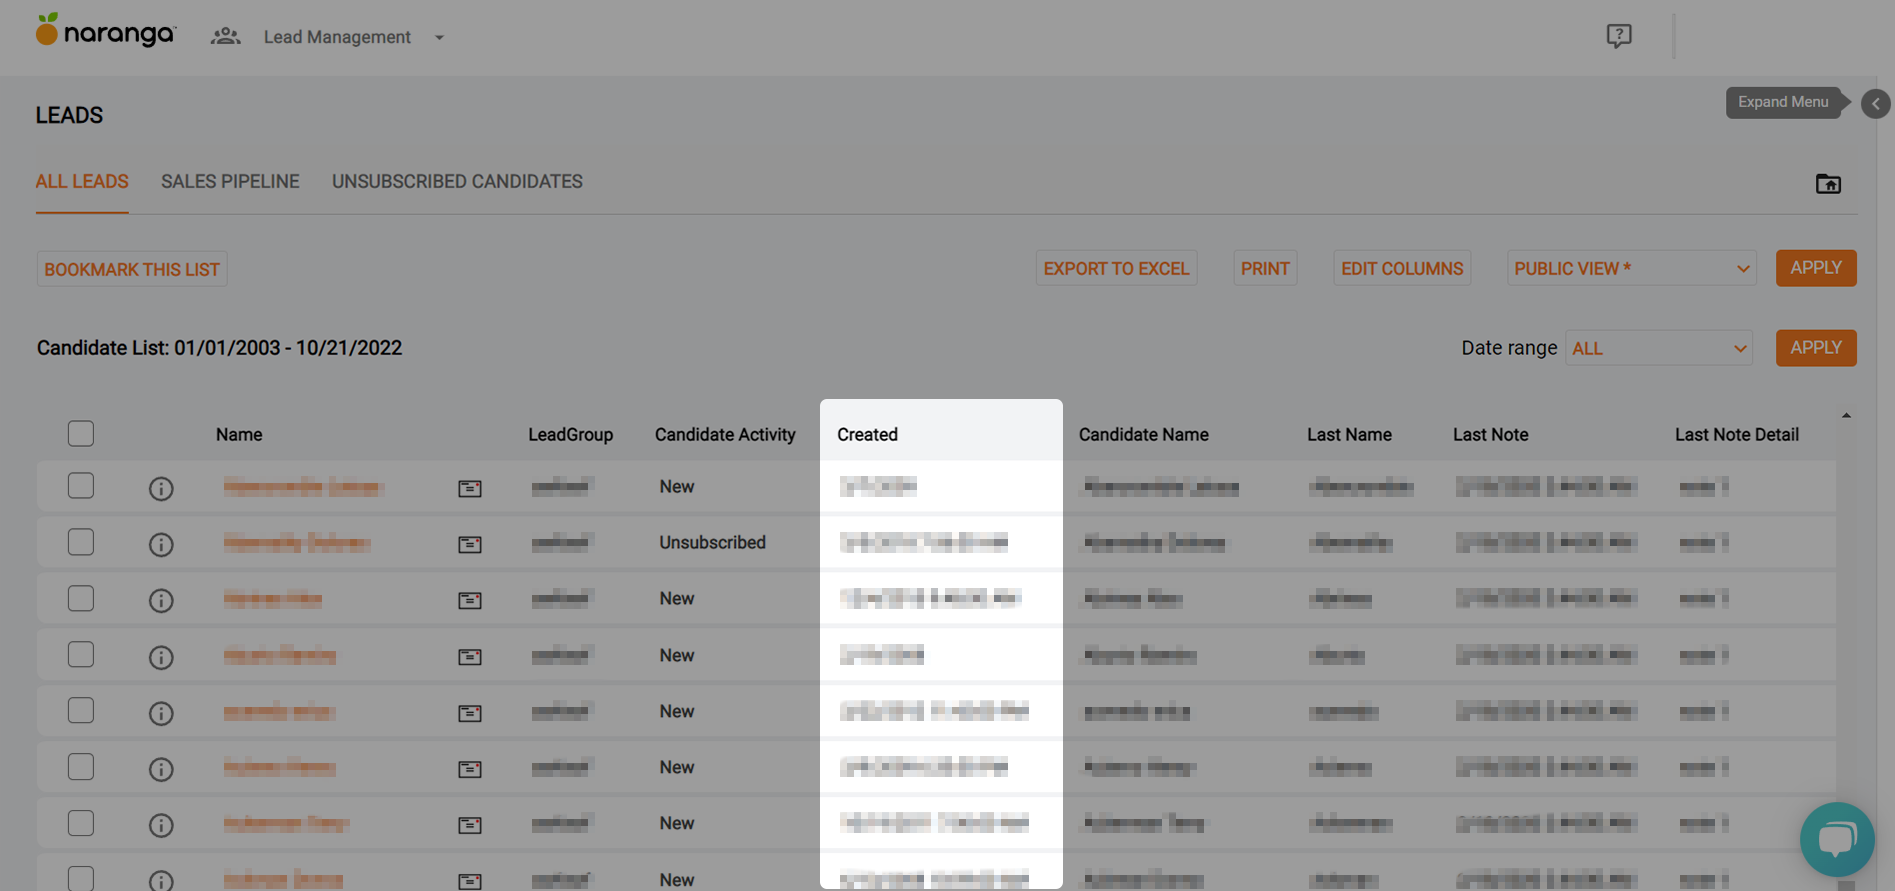
You will now see the "Created" column under the view.

Related Articles
Editing Reports
Editing Reports If you look to the right of the “Pivot View” dropdown, there is a link there labeled “Open Editor”. If you click on that link, you will see an editor open up above the report. The editor will have seven fields that can be changed. ...I am trying to add a field to my column views, and do not see it as an option
I am trying to add a field to my column views, and do not see it as an option By default, certain fields are not re-portable in the Lead Management system. Depending on your business’s needs, we can add up to forty fields for reporting ...List Views
List Views Another powerful feature of eMax is that the system allows you to “drilldown” into the reports and view al the leads that match the criteria you are looking for. For example, let’s look at the “Active Sales Pipeline” report. If you look at ...My links aren’t working in campaign emails!
My links aren’t working in campaign emails! If you or a lead clicks on a trackable link in LeadManagement and it takes them to the home page, the link is not set up correctly. The most common cause of this is when the campaign email was created, it ...Report Management
Report Management Report Management Naranga Lead Management database provides powerful reports that allow you to see how many leads you have and where they are in your pipeline. There are several ways to create and access reports. The first and ...